How to Make Clip In Hair Extensions at Home – Step-by-Step

Clip-in hair extensions are a fantastic way to add length and volume to your hair quickly and easily. In this guide, you’ll learn how to make clip in hair extensions. From selecting the right materials to mastering the application technique, we’ll cover everything you need to know to achieve a natural look. Whether you’re preparing for a special occasion or just want to switch up your style, making your own clip-in extensions is a fun and rewarding project!
What You’ll Need to Make Clip In Hair Extensions

Before diving into the steps for how to make clip in hair extensions, it’s important to prepare the right tools and materials. With just a few essentials, you can create your own customized clip-in extensions that match your hair perfectly and save money compared to store-bought sets.
Gather Materials
Before getting started, make sure you have the following tools and materials ready:
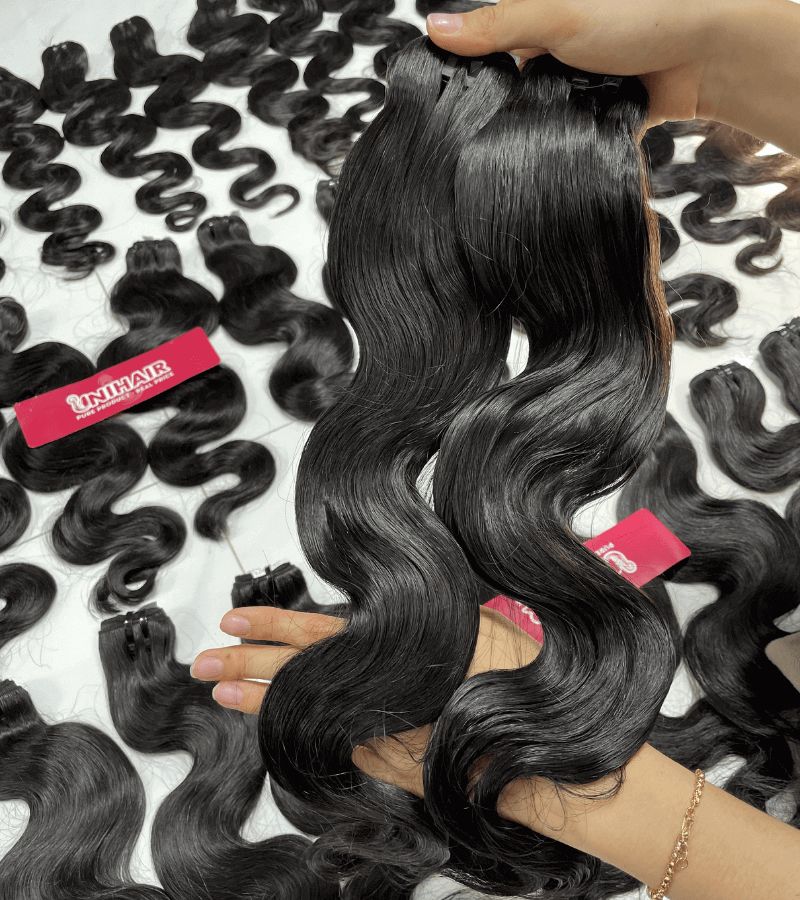
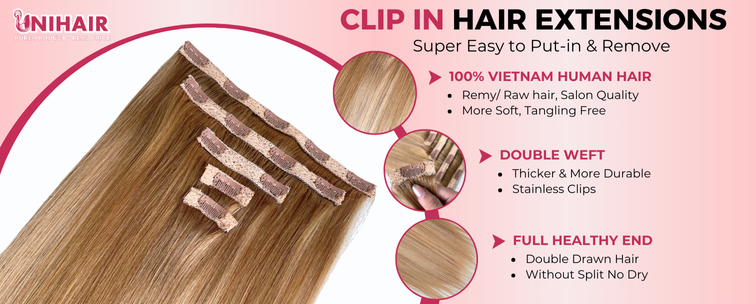
- 1-2 packets of hair on a weft: (preferably 100% human hair for best results). Measure your head and decide how thick you want the pieces before you go.
- 15-20 wig clips: (extension clips with silicone lining for better grip). The exact number will depend on how many hairpieces you make, but it’s better to have extra than to make another trip to the beauty supply store. Ensure you use enough clips in each hairpiece to prevent them from coming loose while wearing.
- Needle and thread (strong thread matching your weft color) or a hot glue gun
- Scissors: For cutting the wefts and trimming the final pieces.
- Measuring tape or ruler: To measure how wide each piece should be for a custom fit.
- Comb or brush
Optional:
- Sewing machine: To attach the wefts to one another.
- Universal adhesive/crazy glue: To strengthen the bonds between wefts and clips, finish off the edges, or as a shortcut to sewing.
- Heat tools for styling and clips for sectioning
These materials are easy to find online or at beauty supply stores—and once you have them, you’re ready to move on to the fun part: choosing the perfect hair!
Choosing the Hair
When it comes to how to make clip in hair extensions that blend seamlessly with your natural hair, selecting the right weft hair is key.
Human Hair vs Synthetic Hair:
Human Hair:
- Best for styling, coloring, and long-term wear
- Can be curled, straightened, and washed just like your own hair
- Offers the most natural look and feel
Synthetic Hair:
- More affordable but less durable
- Limited heat styling options
- Can sometimes appear overly shiny or artificial
Texture & Color: Match the texture (straight, wavy, or curly) and color of the weft to your natural hair. It’s better to choose a slightly lighter shade and tone it if necessary, rather than using a color that’s too dark and hard to adjust.
Recommended Source: For the best results when learning how to make clip in hair extensions, we recommend using 100% raw Vietnamese human hair from Unihairvn. It’s soft, long-lasting, dyeable, and blends beautifully with all hair types—perfect for custom clip-in sets.
How to Make Clip In Hair Extensions at Home? – Detailed Guide

If you’re wondering how to make clip in hair extensions at home, you’ll be happy to know that it’s easier than it looks! With a few tools and a bit of patience, you can craft beautiful, custom extensions that match your hair perfectly and save on salon costs. Below is a step-by-step guide to help you create your own clip-ins from weft hair.
Measure and Cut the Wefts

If you want your clip-in hair extensions to fit specific areas of your head, use a tape measure to measure those areas where you plan to attach the extensions. Be sure to write down the measurements and cut the hair weave accordingly—typically the nape, sides, and back of the head.. Here’s a basic guide for the widths of clip-in hair extensions:
- One piece measuring 13 cm (5 inches) for the nape area.
- One piece measuring 23 cm (9 inches) for around the back of the head (ear-to-ear).
- Two pieces measuring 10 cm (4 inches) above the ear on each side.
- Two pieces measuring 3 cm (1.5 inches) to fill in gaps.
Double the Wefts (Optional)

Did you want an even more voluminous look? If so, consider seamlessly joining two tracks by either gluing or sewing them together. It’s important to be patient for the best results. Apply a small amount of glue along the woven section at the top of one weft, being careful not to get any on the hair strands. Once the glue has set, attach the glued weft to the corresponding unglued one, gently pressing both pieces together before letting them dry completely.
Sew the Wefts Onto the Net (Optional for Extra Structure)

Some people prefer adding a mesh net base for extra support. If you choose this method:
- Cut a piece of breathable wig net slightly wider than your weft
- Sew the wefts onto the net using a strong curved needle and matching thread
- This adds structure and makes sewing clips more secure, especially if you’re stacking multiple wefts
This step is optional but recommended if you’re working with very fine hair or plan to reuse the extensions frequently.
Sew the Clips onto the Wefts

Now it’s time to attach the clips. Use strong thread and sew each clip securely along the top of the weft (or net base, if used).
- Three large clips for the 13 cm (5 inches) piece at the nape area.
- Four large clips for the 23 cm (9 inches) piece around the back of the head (ear-to-ear).
- Three medium clips for each of the 10 cm (4 inches) pieces above the ear on each side.
- One large clip for each of the 3 cm (1.5 inches) pieces for filling in gaps.
- Align clips evenly to avoid bunching
- Use double-threaded stitches through each clip hole for extra strength
- Make sure the clips are facing the right direction to snap securely into your hair
- To attach the clips, insert the needle through the top left hole of the clip and sew 5-10 times to ensure it’s secure. Sew along the top of the clip to anchor it to the weft along its entire length, then sew through the top right hole at least 5-10 times until it’s firmly in place. Knot the thread and trim any excess. Repeat this process for each clip.
Installing Your DIY Clip In Extensions

Following are the 4 easy steps that will allow you to make clip-in hair extensions:
Preparing to Insert the Pieces
To insert the extensions, you’ll need:
- A rat-tail comb for sectioning hair (and teasing, if desired)
- 1-2 bobby pins to secure the bottom layer of hair
- Clips to hold sectioned hair out of the way
- At least 2 mirrors positioned to help you see the back of your head
- A soft brush to blend the layers after letting them down
Depending on your hair texture, it may be best to start with clean hair that has some product in it (like mousse or hairspray) to help the clips grip better. Remember that the extensions will be covered by your natural hair, so be mindful of your part and avoid placing any clips more than 1/2 inch behind your hairline near your face.
Attaching the Back Pieces
Starting at the bottom of your hair, section off about 1 inch.
If you have short hair, take about half of that section and roll it into a tiny bun, securing it with a single bobby pin. This small step helps prevent short hair from sticking out and makes the long extensions less noticeable.
If your hair is fine or slippery, you can backcomb it slightly to create a stronger base for the extensions.
Begin by attaching the bottom piece—this should be a thicker section (at least 2 layers thick), but not the widest. Insert the center comb into the middle of the hair you’ve pulled down and press it closed. Then, pull the sides along your head and secure them, ensuring they lie flat against your scalp. Adjust and reinsert as needed until they feel secure and even.
Using the tip of a rat-tail comb, section off another horizontal strip about 3/4 to 1 inch wide, and pull it down (teasing it a bit can help if you like). Insert the next piece here, making sure all the combs are snug and lying flat against your head.
Repeat this process for the next two pieces, stopping before you go too high so you can camouflage the top piece with your natural hair.
Attaching the Sides
Now, unclip your natural hair and let it fall over the back clips. You should have beautiful, thick, long hair at the back, while the sides may remain short or thin.
If you part your hair to the side, use a comb to section off a 1/4 inch strip of hair from your hairline forward, then insert two clips on the narrower side of the part. If you have different sizes for the side clips, place the wider one lower and slightly back, and position the smaller one as high as possible near your hairline.
Flip your hair to the other side and clip it in place, repeating the same steps. After that, let your hair fall back down and check for any sparse areas on the sides. Add your last two clips in these spots (for me, this is usually closer to the center to blend with my side-swept bangs).
Make sure all the clips are secure! Feel free to remove and readjust them until they feel snug. Then, run a soft brush through all the layers. Your hair should look relatively natural, depending on the length and cut.
Note: Once you find a setup you like, consider marking the inside of the clips so you can easily identify them each time you insert them—just check if it’s #1 or #3 before inserting. This is especially helpful after you cut them.
Styling the Extensions
Unless you’re aiming for a contrasting color or a dramatic look, it’s best to make your extensions appear as natural as possible. If you choose the right color, the difference will be minimal. The main indicators are clips sticking out near the crown of your head and a noticeable “break” between your natural hair and the extensions.
To address the first issue, make sure you have enough of your own hair to cover the clips at the top and blend them in. If your hair is thin or you’re concerned about it staying in place, you can tease it a bit and use hairspray. Another helpful technique is to clip the extensions in a half-up, half-down style, which can help conceal the break in length and keep everything secure.
For the second issue (and for a more long-term solution), consider layering your extensions. Ideally, have a professional stylist do this for you. If that’s not possible, you can add some layers yourself to reduce the obvious difference. The easiest method is to gently slide a plain shaving razor downward along the sides, starting just below your natural hair length and moving down about an inch.
Be careful not to cut too much at once and go slowly, using multiple mirrors to monitor your progress. It’s also a good idea to trim the ends to avoid any uneven strands and create a more natural look.
Tip: Wavy hair blends more easily than straight hair.
Caring for Your DIY Clip In Extensions

You shouldn’t wash your extensions with your natural hair. Instead, remove them and gently swirl them in a mixture of mild shampoo and water, then rinse. After that, apply a spray conditioner and lay them flat on a towel to air dry—avoid wringing or blow drying. Don’t comb them when they’re wet; they will naturally return to shape as they dry, and you can comb them then. It’s important to do this to prevent tangling.
Store your extensions in a safe place where they won’t get tangled, and trim the ends if they start to feel crispy, as heat can cause the fibers to become curly, kinky, or frizzy.
While you can sleep in them, it’s not recommended, as it can be uncomfortable and may lead to unnecessary heat exposure and tangling.
If you’re in a rush, you can use a blow dryer on a low or no heat setting, but it’s best to avoid it if possible. Definitely steer clear of heat styling tools like curlers or flat irons.
Where to Buy Clip In Hair Extensions?

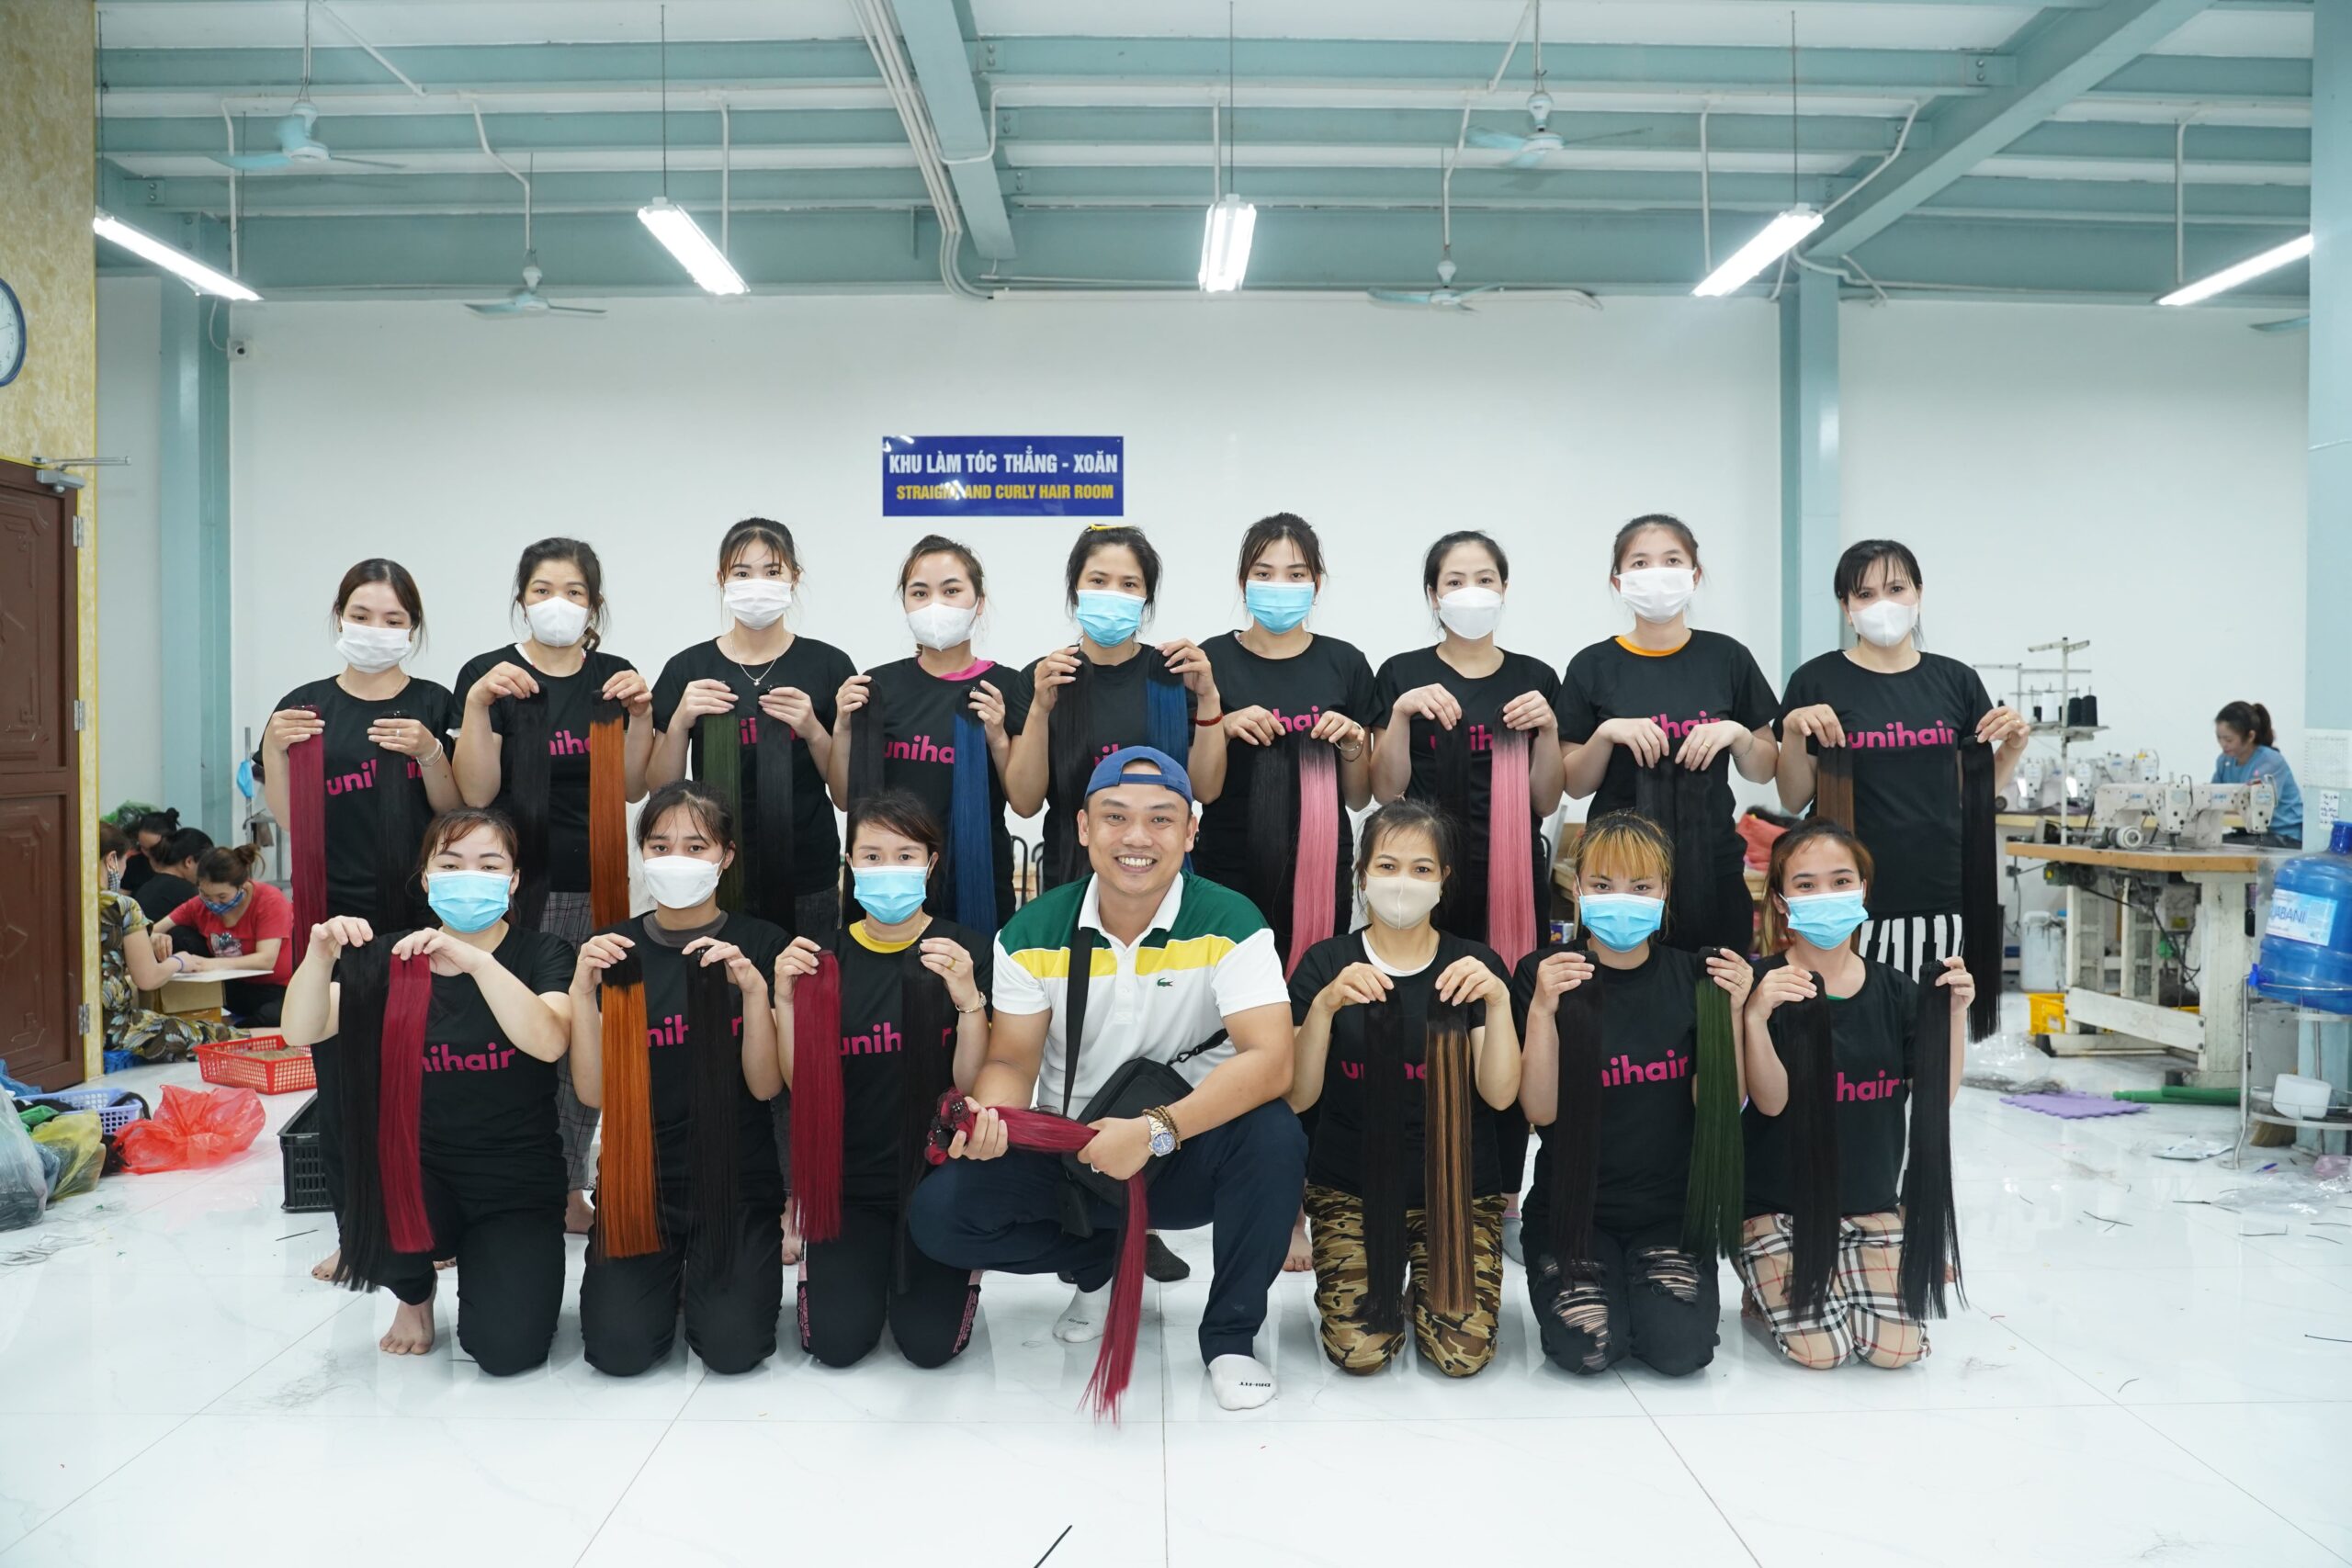
If you’re searching for high-quality clip-in hair extensions, look no further than Unihairvn. Unihairvn is renowned for its exceptional human hair extensions. With a strong presence in the global market, including the United States, Europe, and Asia, we have established ourselves as a trusted supplier for wholesalers and consumers.
Unihairvn specializes in 100% natural Vietnamese hair, ensuring that all extensions are virgin or remy. At Unihairvn, you’ll find a diverse range of clip-in hair extensions, designed to enhance your hair’s length and volume effortlessly. Our products are crafted with care, ensuring durability and a natural look. With a user-friendly shopping experience and a knowledgeable support team, Unihairvn makes it easy to find the perfect extensions for your needs.
Contact information:
- Email: wholesale@unihairvn.com
- Website: https://unihairvn.com/
FAQs
How to make Clip In Hair Extensions Look Natural?
To achieve a natural look with clip-in hair extensions, select extensions that closely match your hair color and texture. Blend the extensions with your natural hair by styling them together using curling, straightening, or waving techniques.
Use a comb or brush to gently mix the extensions with your own hair for a seamless transition. Make sure the extensions are securely clipped close to the scalp for a more natural appearance.
Take your time to adjust and position the extensions correctly, checking in a mirror from various angles to ensure they blend seamlessly. Finally, use styling products sparingly to maintain a natural look and prevent the extensions from becoming weighed down.
How Long do Clip In Hair Extensions Last At Home?
Clip-in hair extensions are not permanent, but they typically last longer than many other temporary options. With proper care, they can last anywhere from 5 to 12 months, depending on how frequently you wear them and how well you maintain them.
To extend their lifespan, pay attention to how you install, remove, and store them. Many users are able to enjoy a full year of use from their clip-in extensions by handling them gently and storing them properly.
Conclusion
In short, creating your own clip-in hair extensions at home doesn’t require advanced skills. After going through these step-by-step tutorials on “How to Make Clip In Hair Extensions” you’ll feel confident to take on the DIY challenge. If you’re still unsure, check out our shop to find your ideal hairstyle. Our factory specializes in high-quality, 100% human hair clips at affordable prices, offering a variety of designs.


