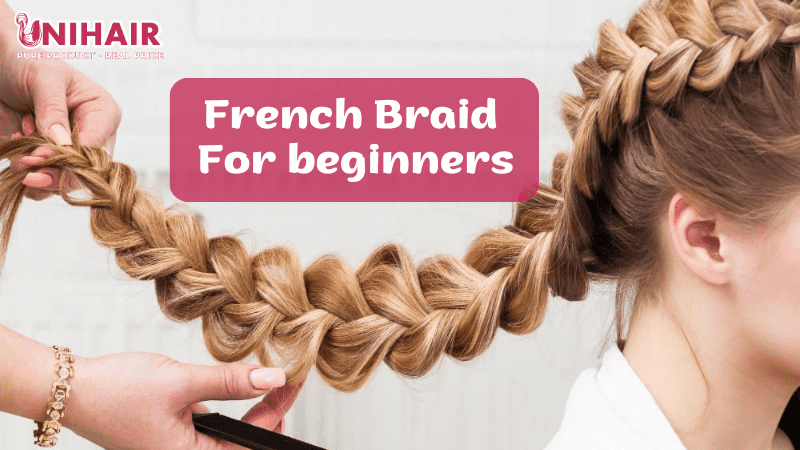
French Braid For Beginners: 7 Simple Steps
Embarking on learning how to French braid opens up a world of creative hairstyling possibilities. If you want to learn more about French braid for beginners, you’re in for an exciting adventure. French braiding might seem intricate at first, but with our detailed instructions and step-by-step guidance, you’ll soon find yourself weaving beautiful and intricate braids effortlessly.
Definition Of A French Braid
A French braid, also known as a Tresse Africaine or Tresse Indienne, is a braiding technique that involves weaving three sections of hair together to form a woven pattern that starts from the crown of the head and travels downward. What distinguishes the French braid from other braiding styles is its incorporation of additional hair strands as it progresses along the scalp. This results in a beautifully intertwined pattern that not only showcases a person’s hair but also offers a practical solution to keeping the hair organized and stylishly arranged.
The French braid is often characterized by its close proximity to the scalp, giving it a sleek and refined appearance. As the braid continues down the back of the head, it incorporates more hair from both sides, creating a cascading effect. This technique not only enhances the visual appeal but also provides a secure hold that can withstand various activities and situations.
The intricacy of the French braid allows for numerous variations and adaptations, making it suitable for various hair lengths, textures, and occasions. Whether worn casually or elegantly, a French braid adds a touch of charm and sophistication to any look. Here are detailed instructions for how to french braid for beginners.

Benefits Of French Braid For Beginners
The benefits of French braid for beginners are not just limited to its aesthetic appeal but extend to the practicality and ease of execution that makes it a go-to choice for those just dipping their toes into the world of hair artistry. This exploration will shine a spotlight on the countless benefits of French braid for beginners, emphasizing its value as a foundational skill for those taking their initial steps in the captivating realm of hairstyling.
Secure And Long-lasting Hairstyle
One notable benefit of French braiding is its ability to create a secure and long-lasting hairstyle. The weaving technique intertwines the hair strands closely, resulting in a braid that can withstand various activities and last throughout the day. This durability is especially beneficial for individuals who want a stylish look that remains intact regardless of their daily routine. Whether you’re at work, exercising, or attending an event, french braiding your own hair offers the assurance of a hairstyle that stays put.

Elegant And Stylish Appearance
One of the key benefits of French braiding is the elegant and stylish appearance it provides. The intricately woven pattern of the braid adds a touch of sophistication to any look. Whether you’re attending a formal event or going about your daily activities, French braid for beginners elevates your hairstyle, making it suitable for a variety of settings. The seamless blending of hair strands creates a polished and refined appearance that complements different outfits and occasions.

Suitable For Various Occasions
French braiding for beginners offers the advantage of being suitable for a variety of occasions. This versatile hairstyle can be customized to match different settings and events. Whether you’re attending a casual gathering, a formal event, or a workout session, a French braid can be adapted to suit the atmosphere. Its polished appearance adds an elegant touch to your overall look, making it appropriate for both everyday activities and special occasions. French braid for beginners is a practical choice for individuals seeking a hairstyle that effortlessly transitions between different contexts.
How To Braid Your Own Hair For Beginners
If you’re new to braiding and looking to learn the basics of styling your own hair, our guide on “French Braid For Beginners” is here to help. This step-by-step tutorial is designed to provide easy-to-follow instructions, making the process of braiding your own hair a breeze. Whether you’re aiming for a classic three-strand braid or want to explore more intricate styles, our guide will walk you through the essentials and have you braiding like a pro in no time.
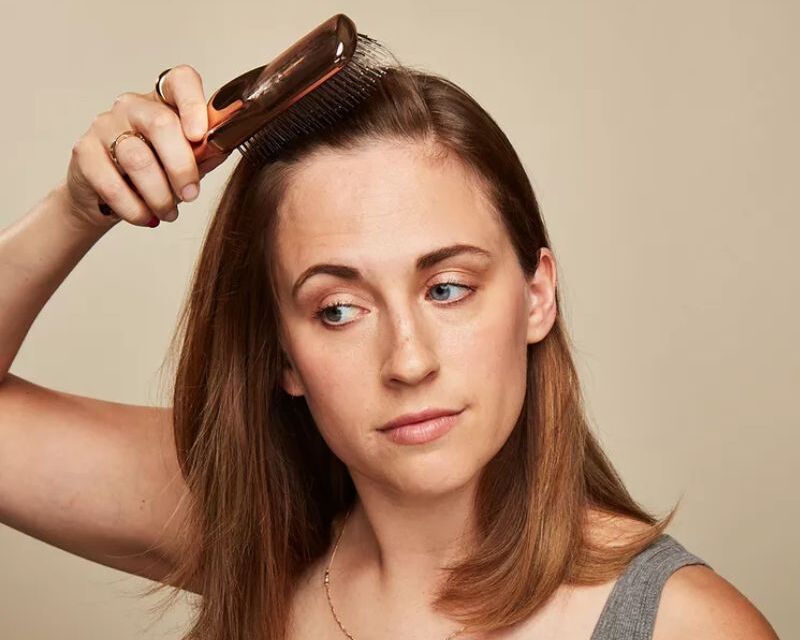
Step 1 – Groom Your Hair
Before embarking on your French braid for beginners journey, ensure your hair is well-groomed. Employ a wide-tooth comb to meticulously detangle your locks. This process not only eliminates knots but also readies your hair for partitioning with ease.
Step 2 – Divide Into Three Parts
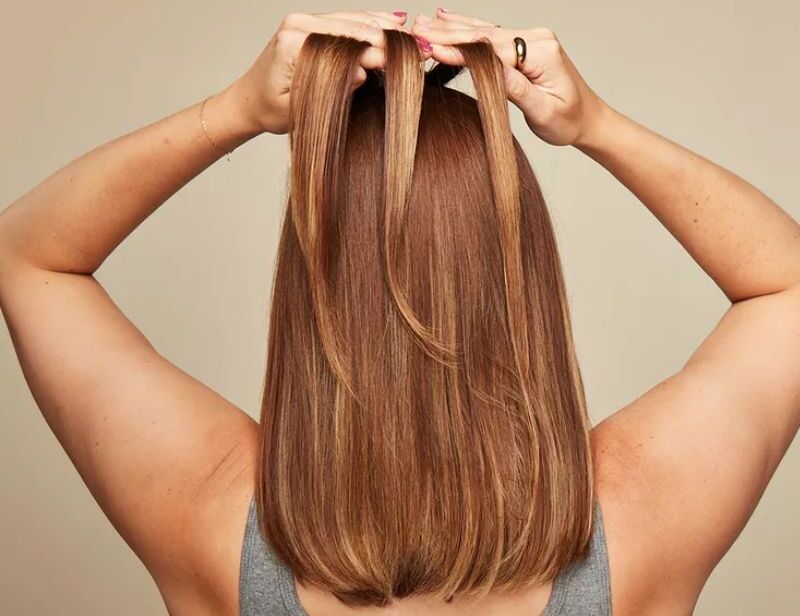
Start French braid for beginners by dividing your hair into three distinct sections: one on the left, one in the middle, and one on the right. The starting point is flexible and entirely up to you. Opting for a secure French braid? Commence right at the center of your head, directly above your forehead. By doing so, you’ll achieve a taut appearance without revealing any parting.
If a more relaxed style is what you’re aiming for, initiate the braid slightly above your ears, maintaining your natural parting. Handling the sections above your ears is akin to styling a half-up look. As you gather hair from the central section, aim to maintain consistency by keeping it roughly on par with the size of your lateral sections.
Step 3 – Cross The Left And Right Segments Above The Center Part
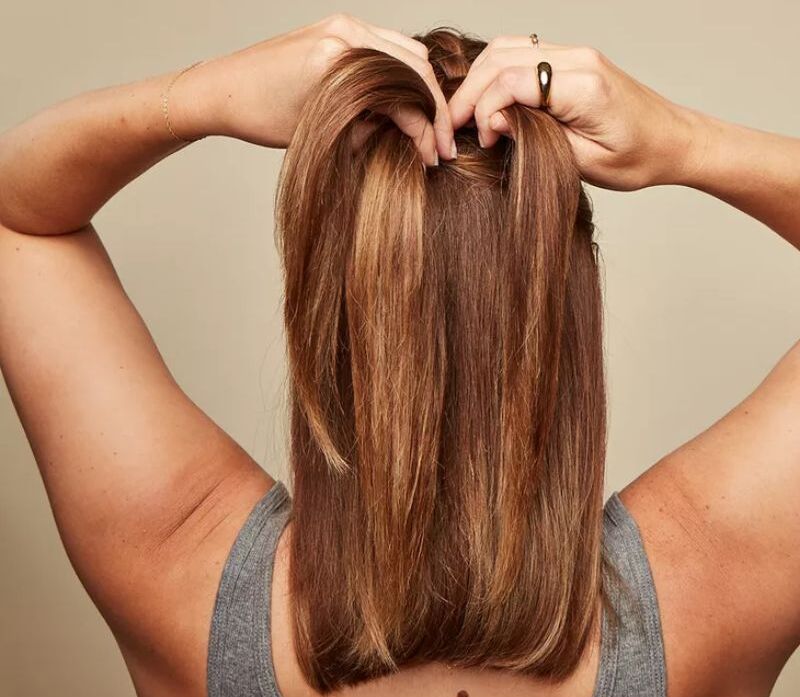
Initiate the process by crossing the left segment of your hair over the center section. At this point, the left unit should be situated atop and have effectively replaced the original center section.
While overlapping the left strand across the center, transition the initial center portion towards the left, creating an almost seamless switch. In the midst of this action, adjust your hand positioning for a more ergonomic grasp—this typically occurs naturally as you manipulate the three segments.
Next, direct the right section over the center element. In a parallel manner, relocate these sections to their new positions. There’s no necessity for a delicate maneuver—maintain a firm tension throughout the procedure. Every instance you bring a lateral section over, it transforms into your fresh central segment. Consequently, your right component should assume the central role among the trio of hair sections. French braid for beginners is simplier than you thought.
Step 4 – Incorporate Hair Into The Left And Right Portions
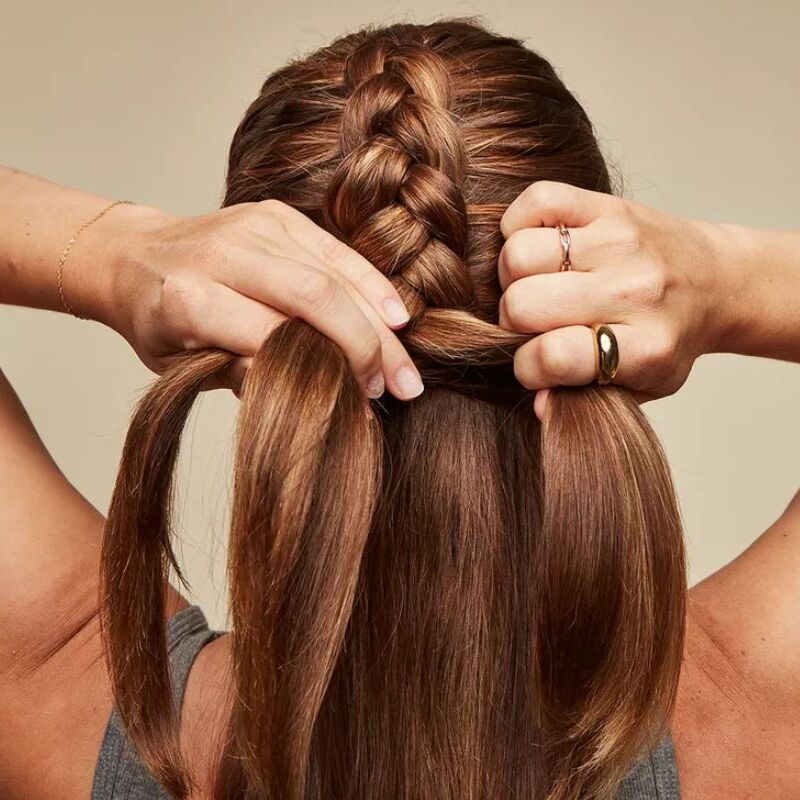
At this juncture, when you clutch the left segment of hair, you’ll incorporate extra strands from the left side. In essence, you’re augmenting the volume of this section before sweeping it across the center, mirroring the previous step. After introducing the additional hair, replicate the earlier maneuver by traversing the entire section above the central strands.
Apply the same procedure to the right side. Infuse some hair from the right into the segment, amplifying its thickness before proceeding to cross it over to the center. Following the progress of French braid for beginners like this you will quickly learn how to braid your own hair for beginners.
Step 5 – Proceed Downward To The Nape
Persist in integrating additional hair into the left and right segments before transferring them over. Maintain this process until you’ve advanced to the lower part of your head, reaching the nape of your neck, and exhaust the supply of hair available to include on each side.
Once you approach the bottom of your hair with no more extensions to incorporate, transition into executing a standard three-strand braid. Adhere to the same principles you’ve employed thus far: left strand over center, followed by the right strand over center, and continue alternating this pattern all the way down to the tips of your hair.
Step 6 – Fasten Your Hair Ends
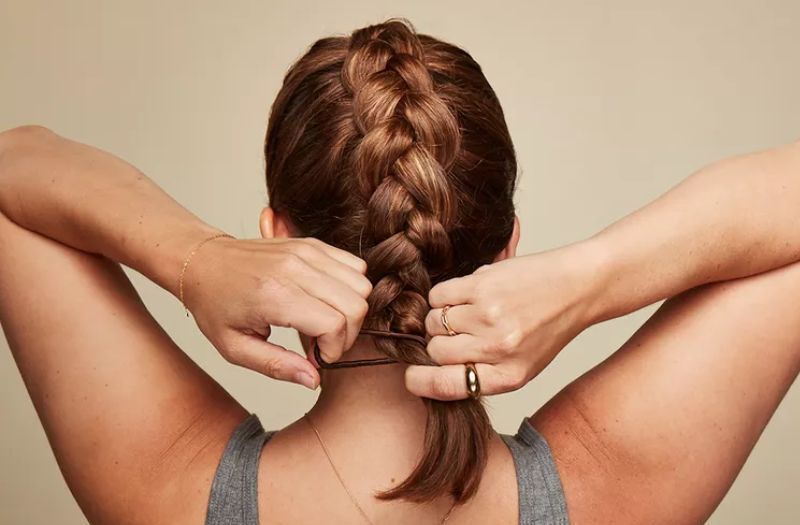
Fasten the ends of your hair together, leaving approximately 1/2″ to 1″ of your hair ends untouched. The degree of tightness in your braid will determine the amount of hair you leave unbraided; for braids with a more relaxed appearance, allow more of your hair ends to remain “undone.” Since traditional hair ties can sometimes come undone easily, I recommend opting for a small elastic tie for better security. After confirming that your hair ends are firmly in place, feel free to enhance the aesthetics of your French braid for beginners by adding a scrunchie, barrette, or any other preferred accessory.
Step 7 – Finishing Touches
Since you untangled the hair at the beginning, you might be left with slippery strands which are more prone to falling out of place, especially if you have layers. At this point, I recommend going in with a dry texturizing spray for extra hold.
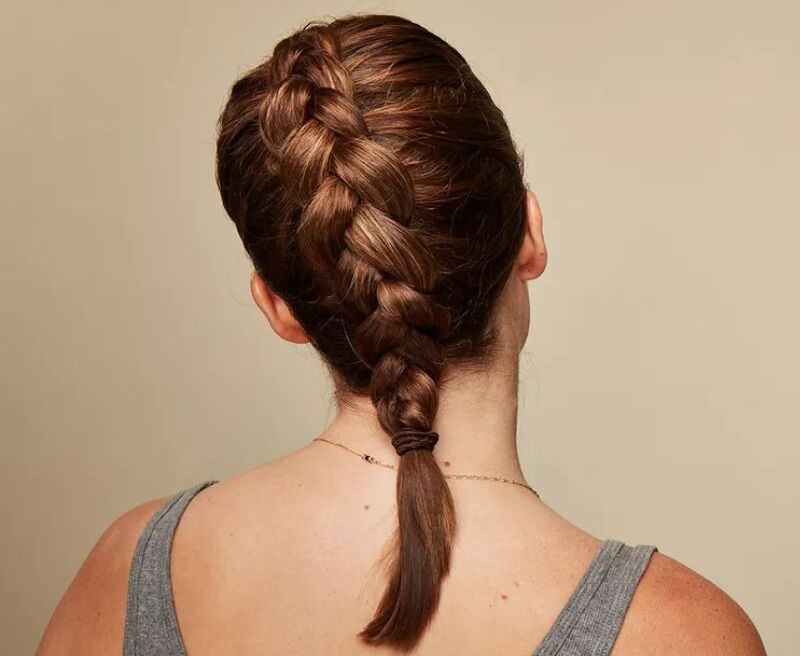
To loosen things up a bit more, gently pull apart the braid to thicken it up and bring out any face-framing pieces for a more romantic, “undone” vibe. Also, if you brought your braid around one shoulder to tie off your ends, swing your braid around to the other side to give it some equilibrium (ensuring one side isn’t tighter or looser than the other). If any of your layers are sticking out of your braid, use a Japanese hairpin or matte bobby pin to secretly tuck those ends back into your braid.
Once you’ve made French braid for beginners final tweaks to your French braid, you have the option to mist a soft hold hairspray all over to keep things locked in for the long haul.
Conclusion
Mastering the art of French braid for beginners may take some practice, but with patience and dedication, you’ll soon be able to create stunning braided hairstyles that showcase your creativity and style. Remember that learning how to French braid for beginners is just the beginning of your journey into the world of hair styling. As you gain confidence and skill, you’ll be able to experiment with different variations, adapt the technique to various hair types, and even create your own unique twists on this classic style. So, grab your comb, mirror, and enthusiasm, and embark on the exciting journey of mastering the French braid for beginners.

