Clip In Hair Extensions: A Step-by-Step Guide
We’ve produced a step-by-step instructions for using clip in hair extensions perfectly for anybody new to extensions. More information here.
Step-by-step instructions in Clip In hair extensions
Ever considered creating your own hair extension? Hair extensions are often created by skilled people in hair factories, so doing one yourself is incredible! However, there are a plethora of tutorials available on how to construct clip in hair extensions these days. Is it safe to use them? If so, what are the specifics for making your own clip-in hair extensions? What are the things you will be on the search for? In this post, we’ll respond to all of your queries.
How to build clip-in hair extensions: Understanding the use of clip in hair extensions
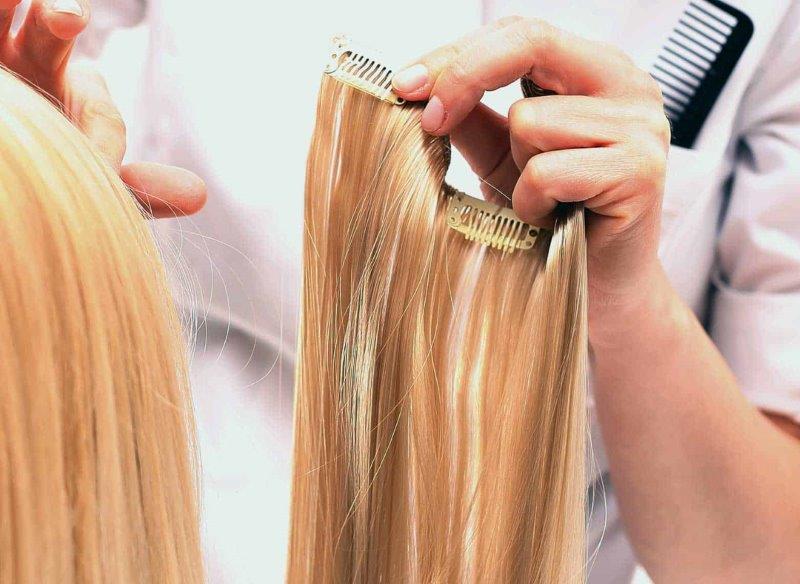
Clip-in extensions are a form of hair extension that are installed into human hair to add length, volume, and new hairstyles. Clip in hair is installed in a manner that is eerily similar to its name. All you have to do now is clip the extension into your hair. Human or synthetic fibers can be used to make clip in hair extensions. Human hair is usually of greater quality than synthetic materials.
Many ladies choose clip in hair extensions because of its ease. Clip in hair extensions allow customers to modify the length, volume, and style of their natural hair in only ten minutes without any need for additional hair closures or extensions.
What are the components of clip in hair extensions?
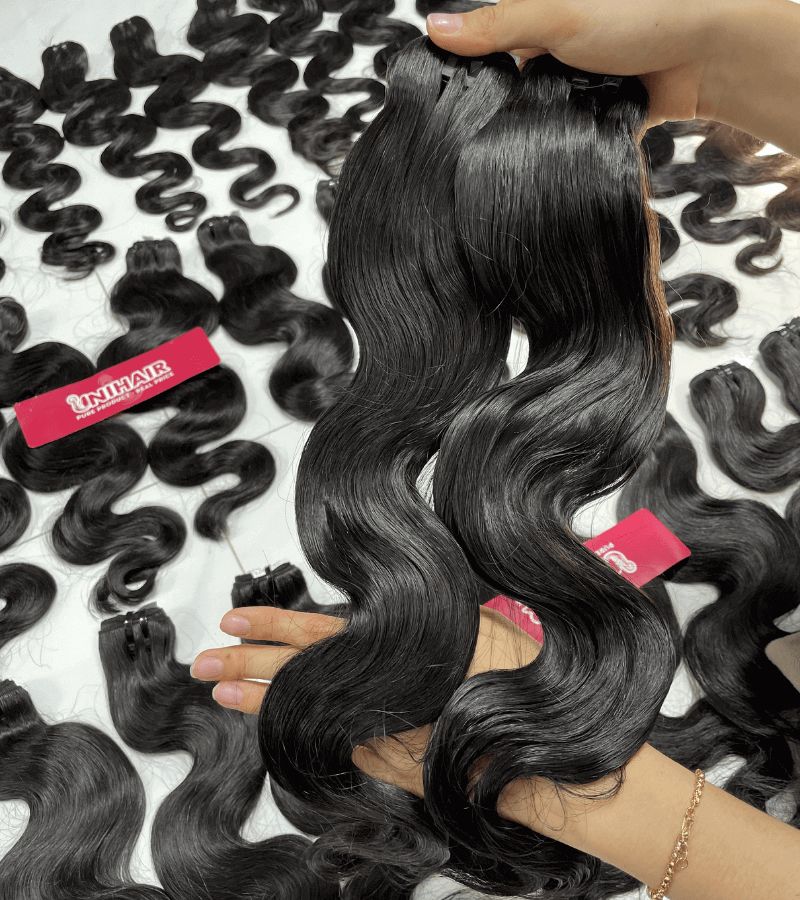
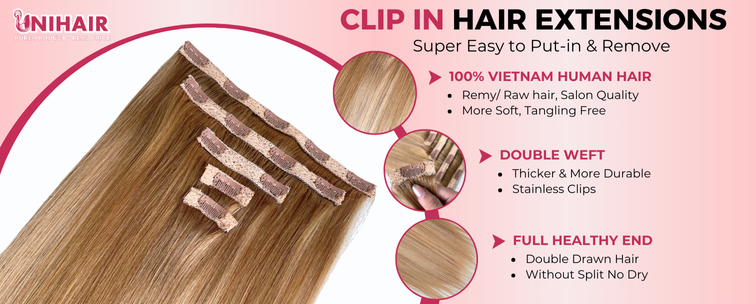
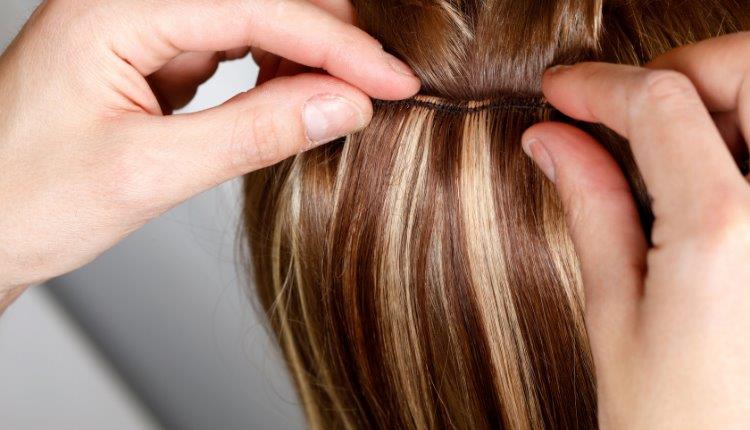
To grasp how to construct clip in hair extensions and estimate their potential, we must first comprehend the components of a full clip-in hair extension. In reality, all of the components are small and straightforward. A typical clip-in hair extension comprises a weft of hair extension and a set of specific hair clips affixed to the weft portion of the hair.
The quantity of hair clips used varies according to the size of the extension. Hair extensions with two, three, or four clips are popular. There are always two clips on the two end sides of all types of clip in hair extensions to ensure that the entire weft can stay firmly in place. The remaining clips will be evenly divided across the two end-clips.
Is it possible for me to produce clip in hair extensions at home?
Understanding every one of the elements, how can you estimate the likelihood of a problem with clip in hair extensions? It is, without a doubt, quite doable. In truth, making the extension yourself is not only doable, but also quite straightforward, as the components consist of only two easy-to-find parts: hair weft and hair clips.
Furthermore, constructing your own clip in extensions is really advantageous. It’s not only a lot of fun, but it’s also really inexpensive. Instead of spending lots of money on clip-in extensions rather than regular hair wefts, you may save money by purchasing less expensive hair clips and attaching them yourself. It is suggested that you try at least once!
Clip In Hair Extensions Exact Instructions
Cleaning Clip-In Extensions
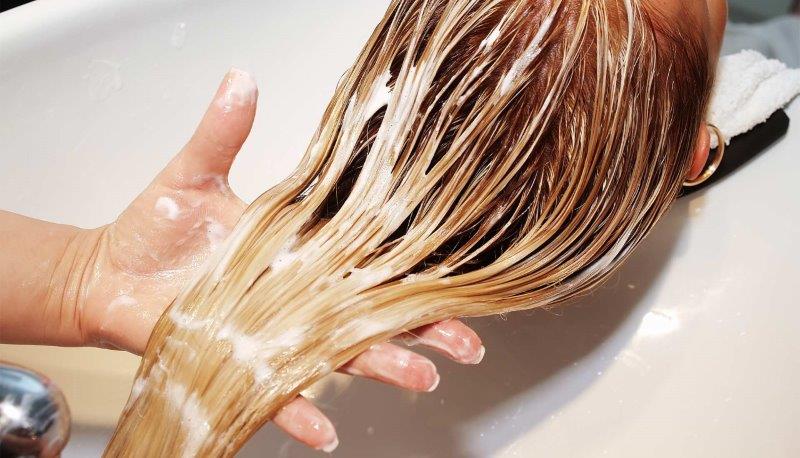
Hair extensions become filthy after a while of use. Sweat and oil from your scalp cause them to clump with each other in the summer. As a result, you should wash them with shampoo as you would your real hair. Wash your hair with regular water and don’t rub it too hard. Choose shampoos free of alcohol and sulfates, since these two components strip moisture from the hair, making it dry and prone to tangling. Argan oil, coconut oil, and castor oil shampoos will give moisture to your hair.
Therefore, you must use caution during shampooing. Overwashing the extensions will cause them to dry out and get damaged. Hair Stylists recommend shampooing your hair every four to six weeks. If you wear your hair extensions every day and use styling products on a regular basis, you may need to shampoo the clip-ins more occasionally.
Clip-In Extensions: How to Care for Them
The extensions, like your original hair, need to be nourished in order to be healthy and beautiful. Conditioning your hair extensions can help you keep their luster and extend their life.
After you’ve washed your hair, use a standard conditioner. Alcohol and sulfate-containing items should be avoided. When purchasing any hair product, always read the labeling. Avoid products that include SLS, Ethanol, Propanol, or Alcohol Denat.
What Is The Best Way To Dry Your Hair Extensions?

To seal in moisture, give the extensions a last rinse in cold water. Squeeze off any extra moisture and set them aside to dry. When drying them, never massage them with a cloth.
Using such a dryer on the hair extensions is not suggested since it can dry them out and cause breakage. If you need to use a blow dryer on your extension clip-ins quickly, apply a heat-protectant spray beforehand to extend their life. To avoid damage, use a cold setting on the dryer and don’t brush them until they’re 90% dry.
Also, when blow-drying, begin at the root and work your way down. It will smooth the cuticles and keep them from tangling.
A three-step technique to making clipin hair extensions
Step 1: Determine the hair weft and cut it
Each weft you get from the hair salon is rather lengthy. Then, in order to manufacture clip-in extensions from it, you must cut it into smaller pieces, with two pieces for four clips, four pieces for three clips, and two pieces for two clips. You must, without a doubt, measure the length before cutting. To measure the weft, simply place it on your head. From this ear to that ear, the 4-clip extension will encompass your head. The 3-clip one is a little shorter, while the 2-clip one is just meant to cover one side of your head.
Step 2: Make the hair weft pieces twice as thick
Several individuals hurry to step 2 after learning how to glue clip-in extensions. It’s usually a good idea to attach two weft hair pieces of the same size together initially to make it thicker. This is also why we only construct one 4-clip extension, despite the fact that we need to cut two hair sections of this size!
Step 3: Attach the clips and complete the project
This is the final stage in the process of making clip in hair extensions. All you have to do now is attach the clips to the hair’s weft. Make sure the clips are evenly distributed and that there are clips at the ends of the weft hair pieces at all times. So you’ve got DIY clip-in extensions on your hands! After waiting a few minutes for the adhesive to completely cure, you may use them straight away.
What are the ingredients for clip-in hair extensions and how do you produce them?
All of the requirements are straightforward, but the key is that you pay attention to how you select them.
Hair extensions can be constructed of either human genuine hair or synthetic fibers, as previously discussed. You may choose any other of them. In terms of cost, synthetic extensions are significantly more appealing than genuine hair extensions. Human hair extensions, on the other hand, are significantly superior in terms of quality. When you choose a human hair weft, you won’t have to worry about how to make synthetic hair silky or any other quality difficulties.
Choosing a hair weft style: In addition to learning how to produce clip in hair extensions, you must also learn how to select a hair weft style. You should select a weft hair extension with a length, color, and style that blends well with your natural hair. For a well-blending look, you should usually use a hair weft of the same hue.
In terms of hair clips, consider the following: You should avoid selecting clips that are too large or too little in size. You should get guidance from the vendor before deciding on the best option. As a precautionary, you should also get a few extras.
In Conclusion
The evaluation is quite extensive in addition to making everything more obvious for novices. Then you may be concerned that it is difficult. The steps, on the other hand, are quite straightforward. You just need to follow them once, and you’ll be able to accomplish it without studying the instructions the following time!
Contact us:
+ Phone/ Whatsapp: +84 905 97 1188
+ Email: wholesale@unihairvn.com
+ Unihairvn – Vietnam Hair Factory
